The guides below demonstrate how an advisor can locate a students alt pin for a specific term using Banner and ARGOS. Be sure to provide the alternate pin that corresponds to the upcoming registration term(s). Alt pins can only be provided by the advisor to the student. Students need their alt pin in order to register for classes.
Accessing Alt Pins Using ARGOS (non-faculty advisors)
This guide demonstrates how an advisor can locate a student's alt pin for a specific term using ARGOS. Be sure to provide the alternate pin that corresponds to the upcoming registration term(s). Alt pins can only be provided by the advisor to the student. Students need their alt pin in order to register for classes.
1. Log into ARGOS using your active directory id and password.
2. Select "Argos Web Viewer".
3. Select "Student".
4. Select "General Academics".
5. Select "Advisees by Advisor".
6. Select "Term", "Level", "College", "Advisor", "Advisor Type", and then "Get List".
7. When the list populates, you can scroll to the right to see the additional fields listed below including next pin and next alternate pin.
Accessing Alt Pins Using ARGOS (faculty advisors)
1. Log into ARGOS using your active directory id and password.
2. Select "Argos Web Viewer".
3. Select "Registration and Academic Services" from the left-hand side of the screen.
4. Select "Faculty" from the left-hand side of the screen.
5. Select the option for "Faculty Dashboard".
6. Select Advisor Information.
7. Select "Term", "Advisor Type", and then "Get Advisor List".
Accessing Alt Pins Using Compass
There are different ways to access a Student Profile to view Alternate Pins.
- View your Assigned Students list and click on a student's name
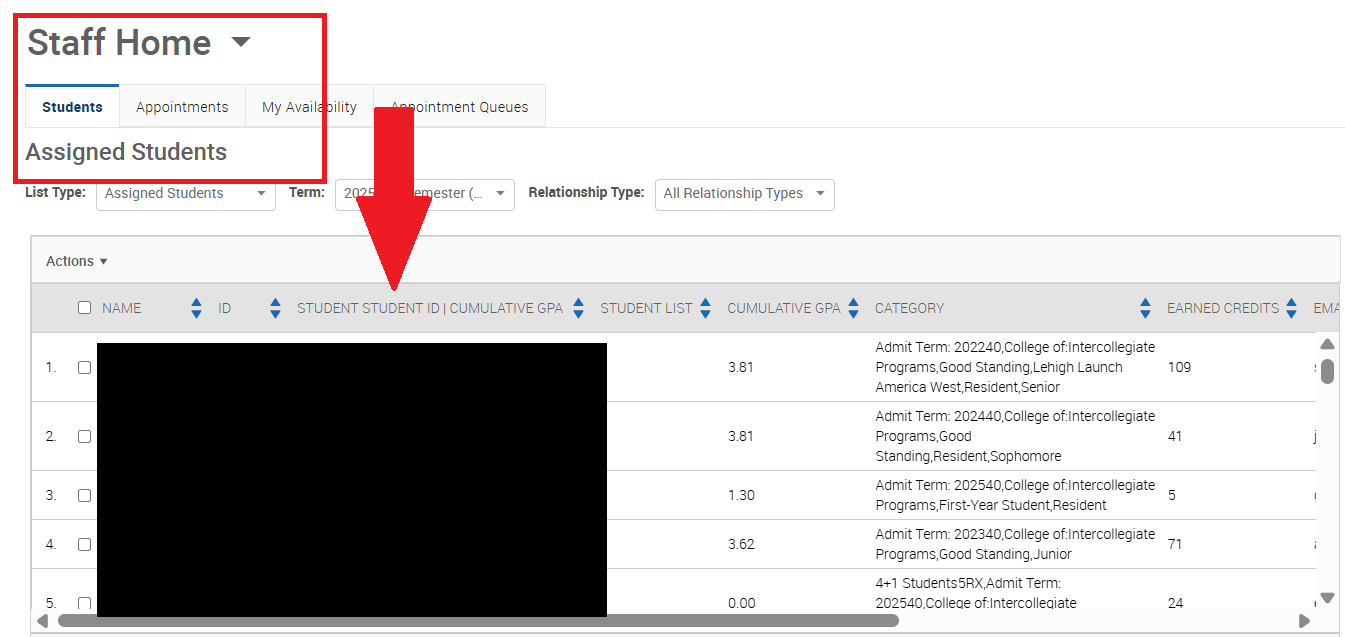
- Search for your advisees by name, email, or LIN using the search box.

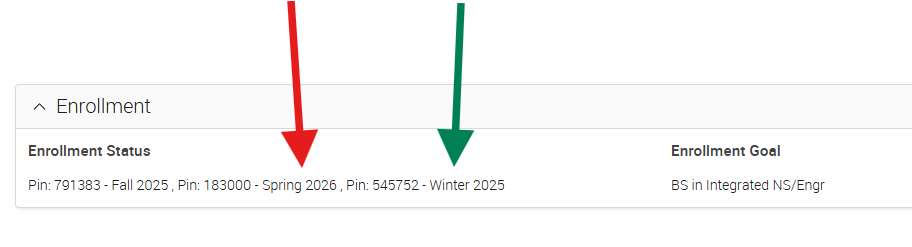
Once you are in the Student Profile, scroll down to the Enrollment section, where you will see all available Alternate Pins listed:
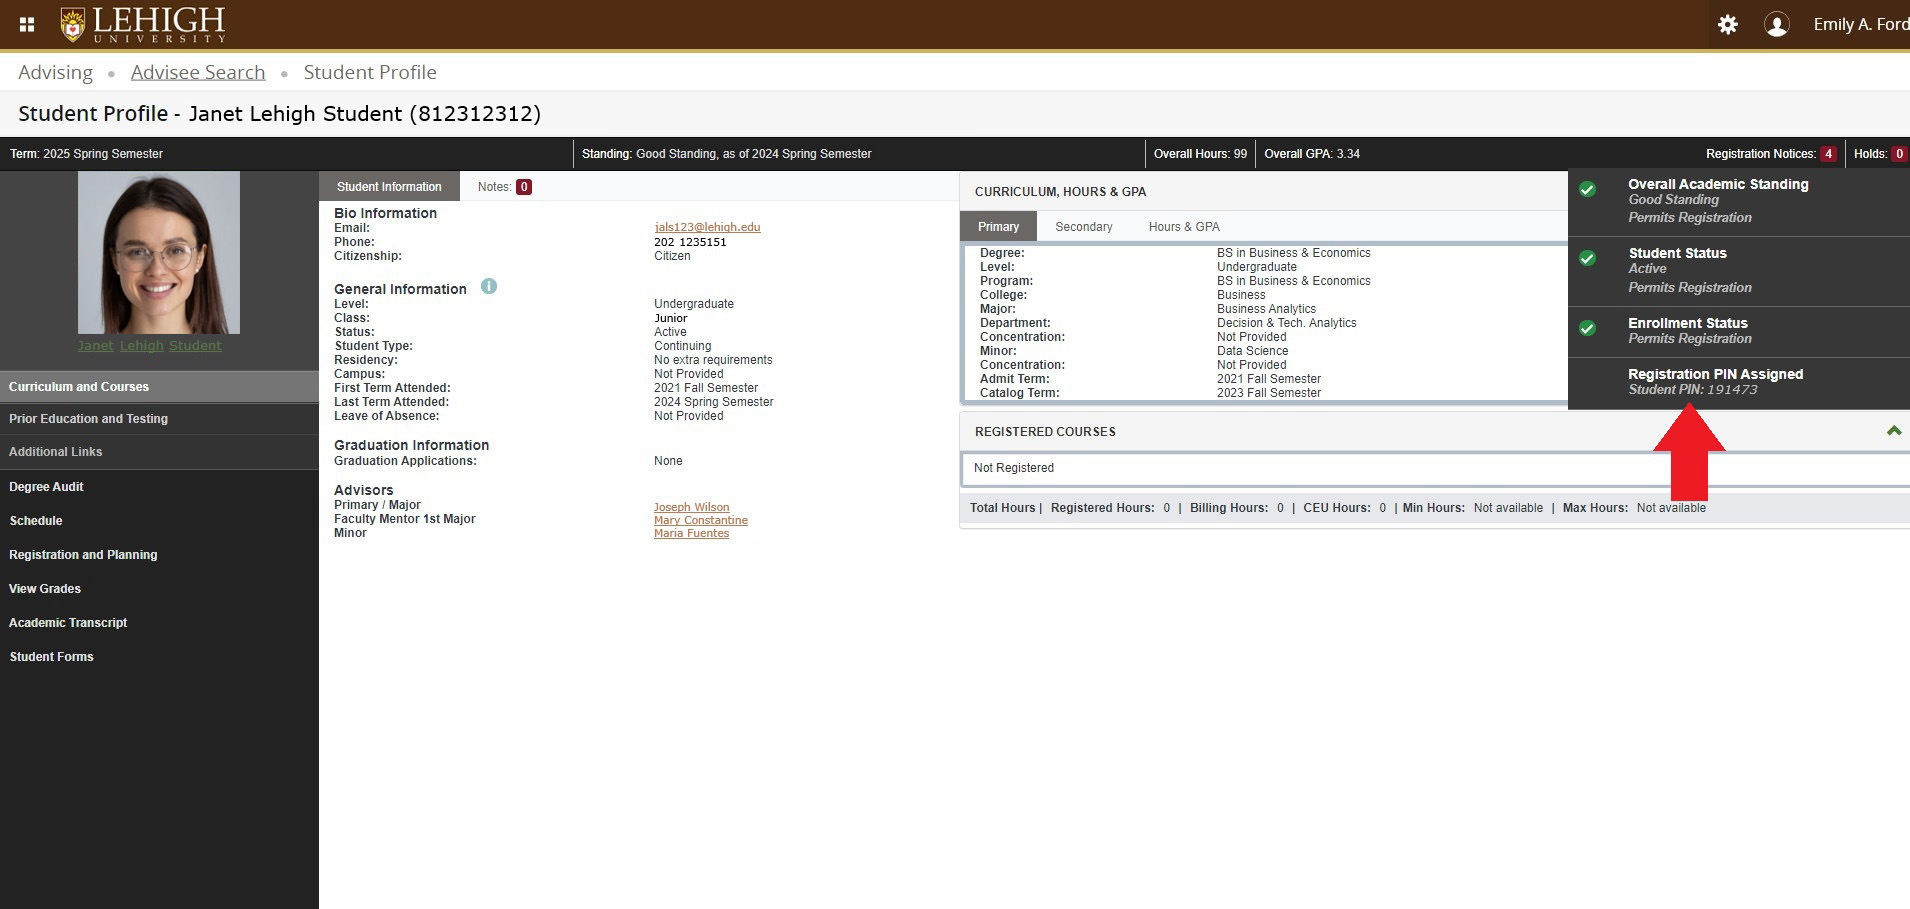
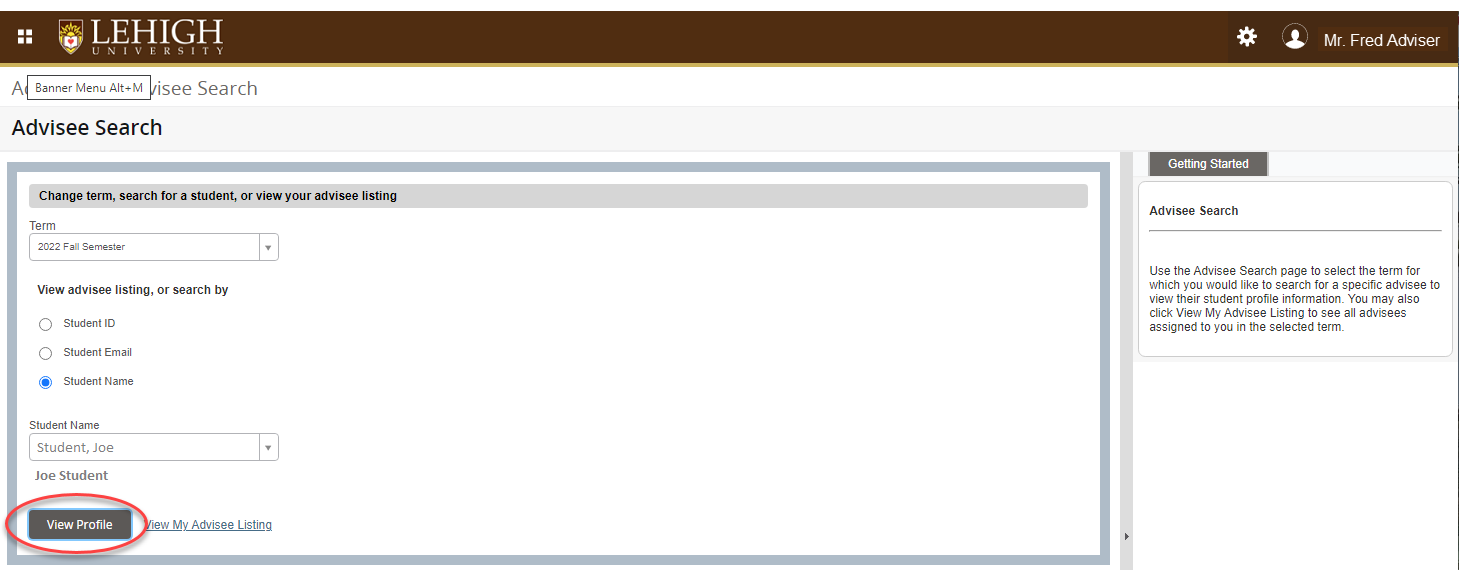
Accessing Alt Pins Using Advising Profile
There are two ways to access a student's profile.
1. On the Advisee Search screen, select the term you wish to review. You may search for a specific student and click View Profile or click the View My Advisee Listing to view all your advisees.
2. Click on Registration Notices in the upper right corner to view the Registration pin. Remember this is specific to the term you selected in step 1 (and noted in the left top corner).